How To Start Windsurfing? Windsurfing is an exhilarating sport that combines elements of sailing and surfing, offering an exciting way to enjoy the water. If you’re ready to start windsurfing, this guide will walk you through the essential skills to help you progress quickly. From setting up your equipment to mastering your first turns and steering techniques, you’ll learn everything needed to begin your windsurfing journey with confidence.
Setting Up Your Windsurfing Equipment
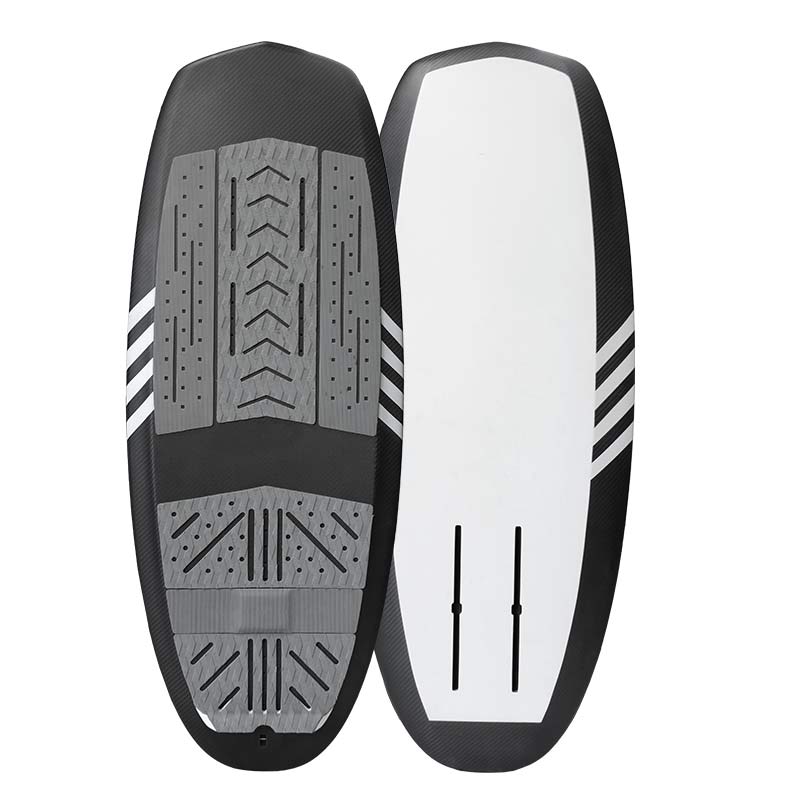
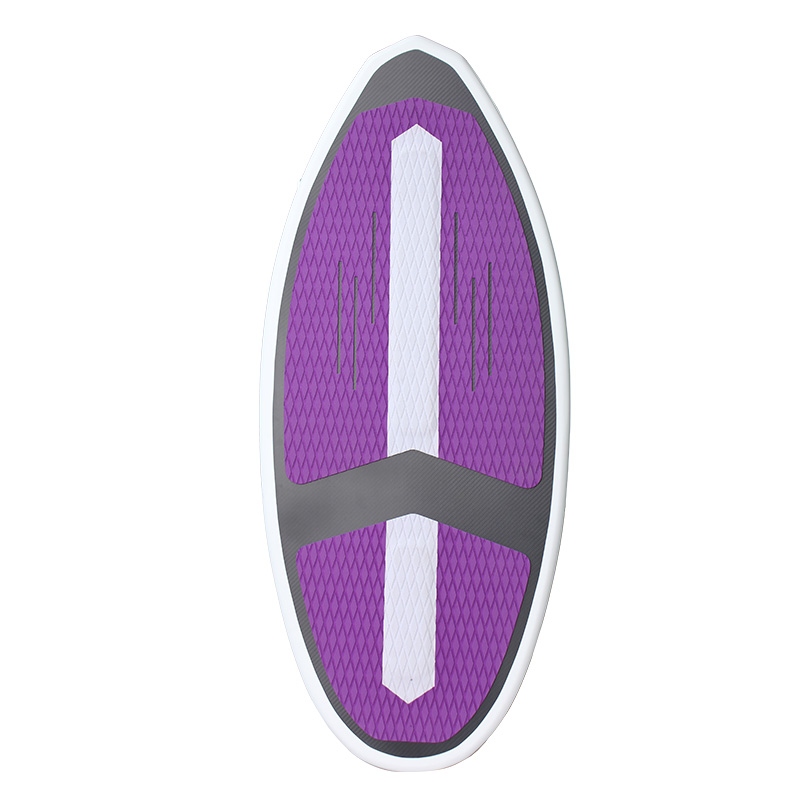
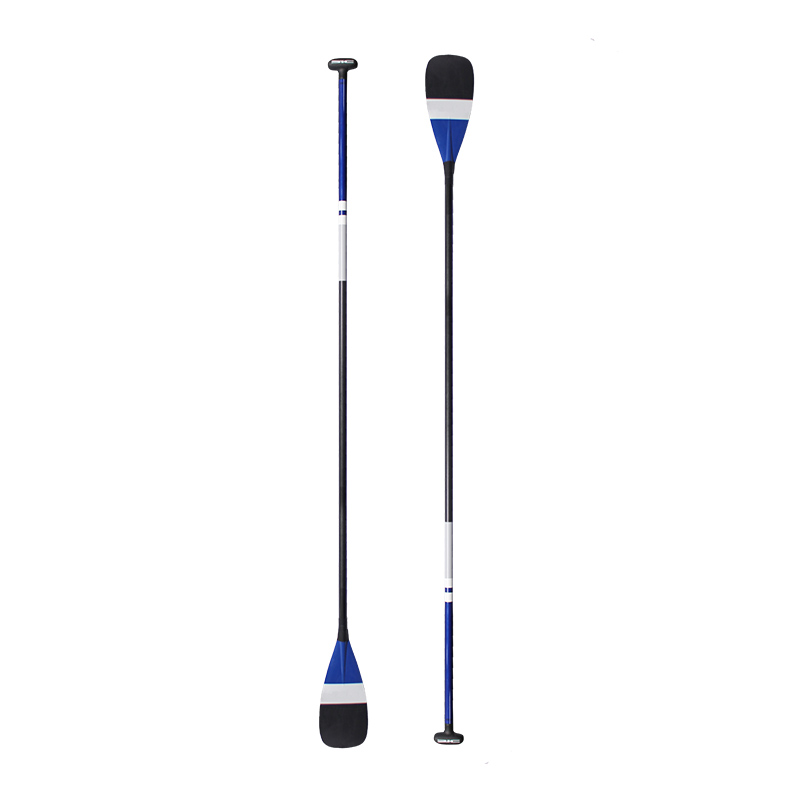
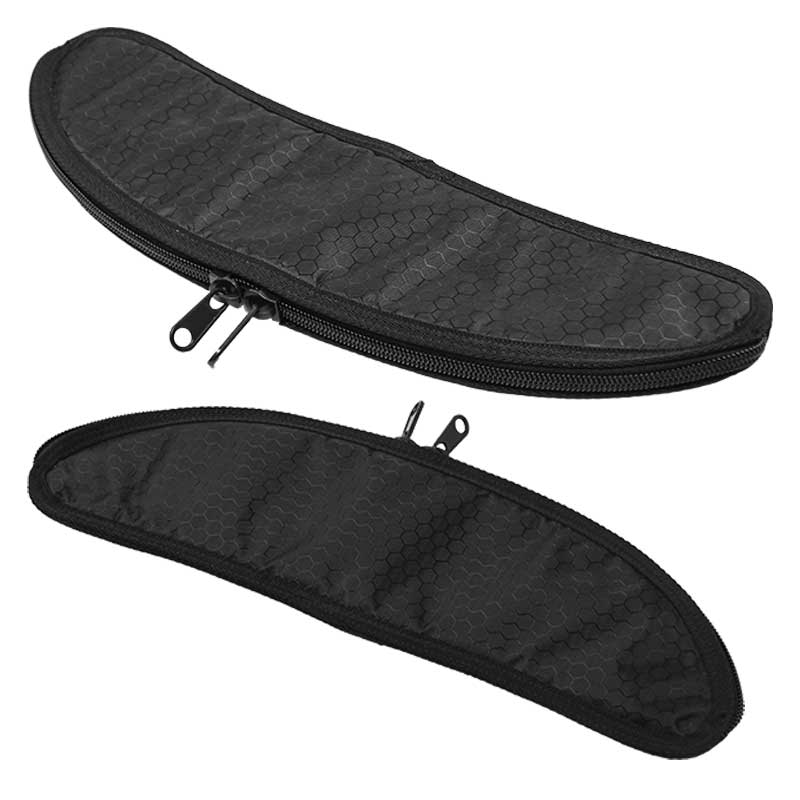
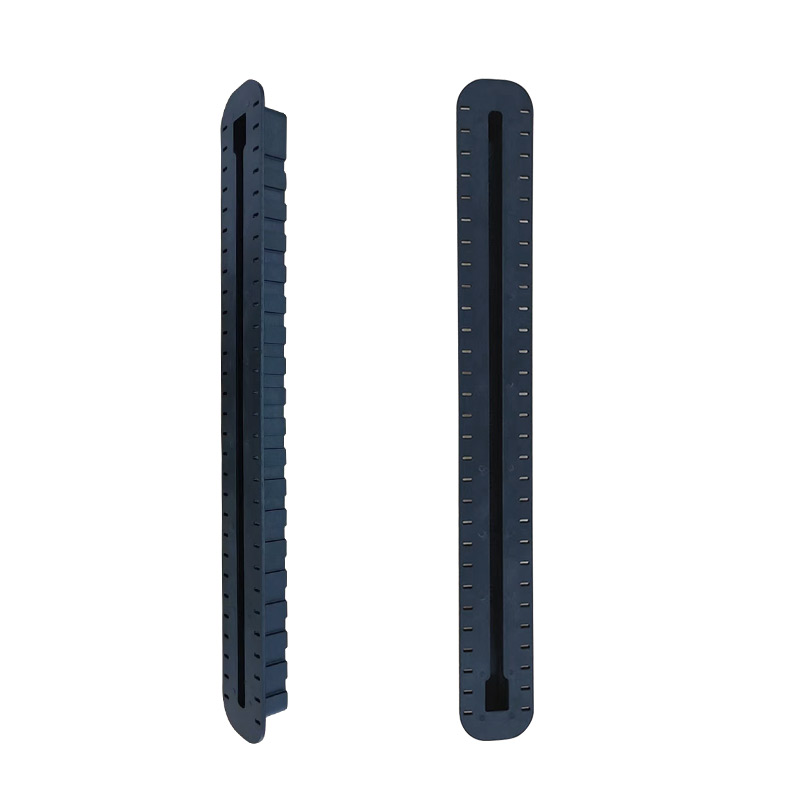
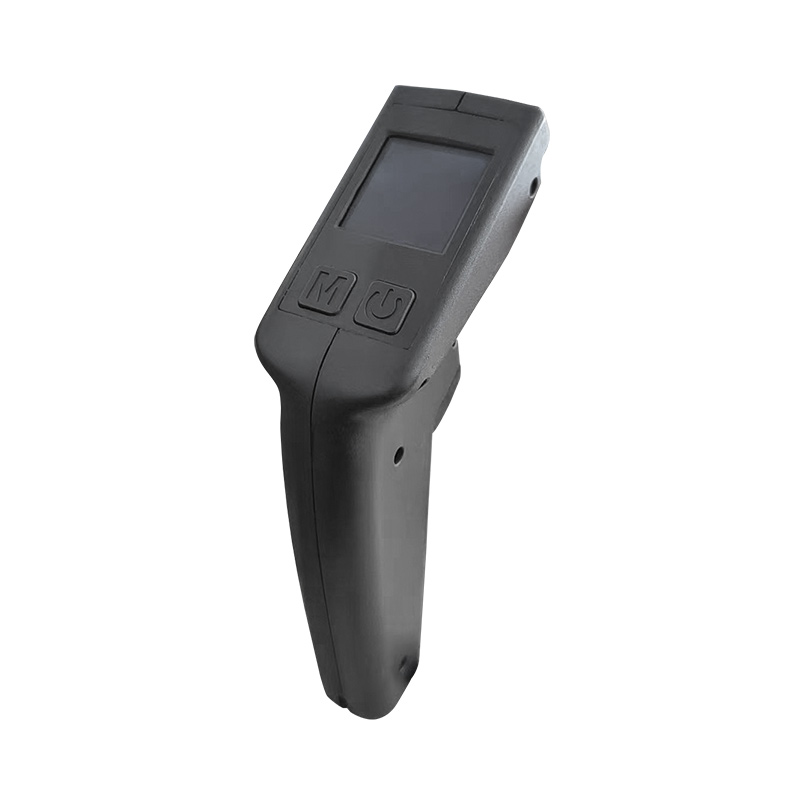
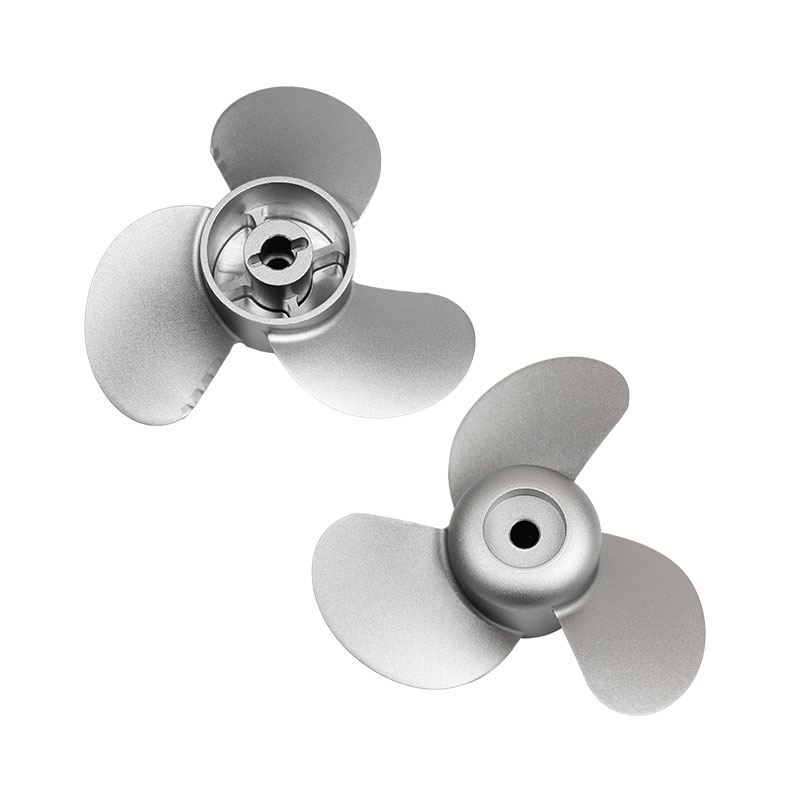
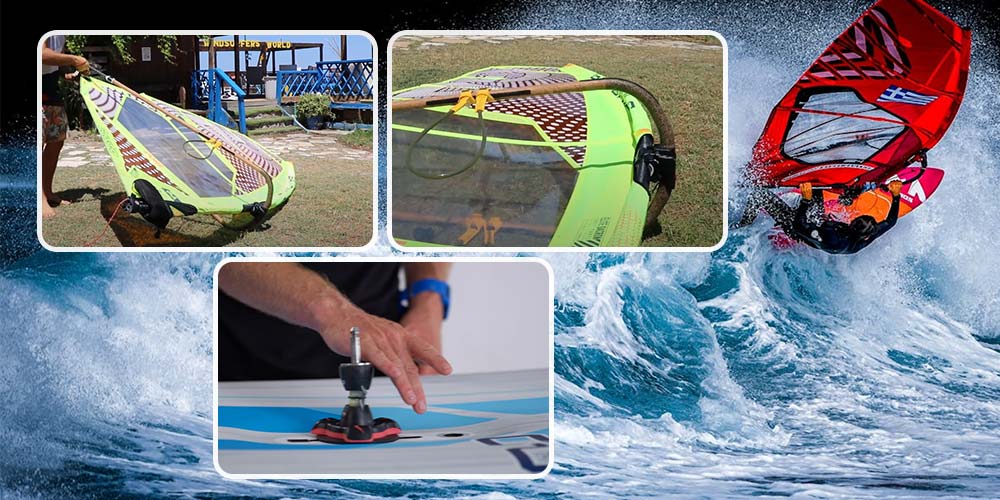
Proper setup is crucial when you start windsurfing, the right steps to set up your surfing equipment are quite helpful for your new start. Here’s how to prepare your gear. If you want to custom the carbon fiber windsurfing equipments such as the masts, foils, fins, booms, boards, and so on. Welcome to contact us for more details.
Understand Your Windsurfing Board:
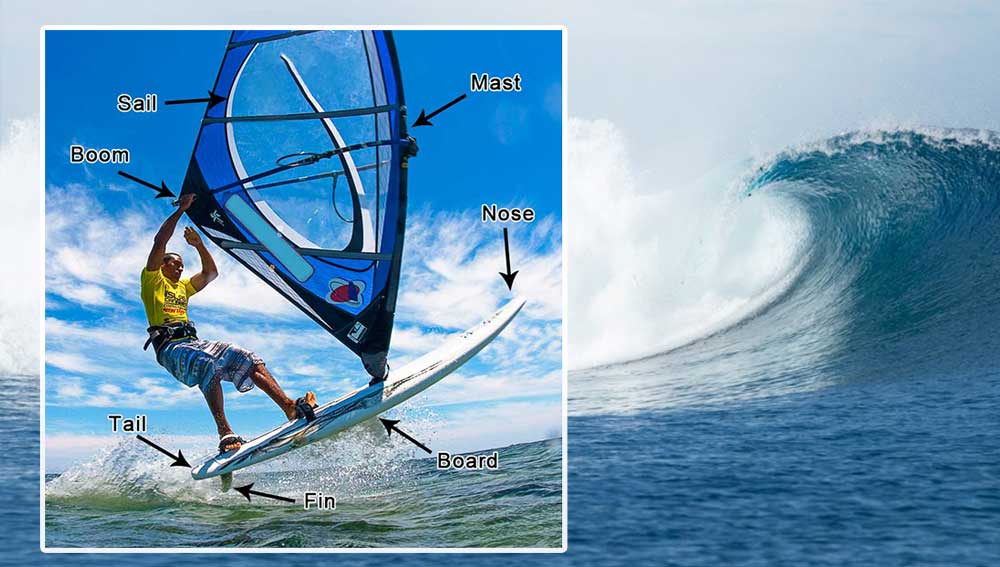
Nose and Tail:
This is the pointed or rounded front end of the windsurfing board. The nose is designed to cut through the water and provide direction as you sail. It plays a crucial role in the board’s hydrodynamics, helping to reduce drag and maintain forward momentum. For beginners, keeping the nose aligned with your intended direction is essential for stability and control.
The tail is the flat or slightly tapered rear end of the board. It supports your balance and helps with directional changes, especially during turns like tacks and jibes. The tail also accommodates the rear fin, which helps stabilize the board and ensures it tracks straight while sailing.
Rails:
The rails are the edges running along the length of the board, connecting the nose to the tail. They play a key role in how the board handles in the water.
- Sharp rails (common on narrower or advanced boards): Improve performance and allow for tighter, faster turns.
- Rounded rails (common on wider or beginner boards): Provide more forgiveness and stability, making it easier to maintain balance while learning.
For beginners, the rails help you understand how the board reacts to your movements. Standing close to the centerline rather than near the rails ensures better stability.
Centerline:
The centerline is the invisible line that runs down the middle of the board, passing through the universal joint (UJ)—the point where the mast attaches to the board.
The Use Of Centerline
- The centerline is the board’s most stable area. By keeping your weight centered along this line, you reduce the risk of tipping over and maintaining balance, especially in challenging conditions.
- During maneuvers, keeping your weight over the centerline ensures smoother turns and better control of the rig.
Attach the Fin and Mast:
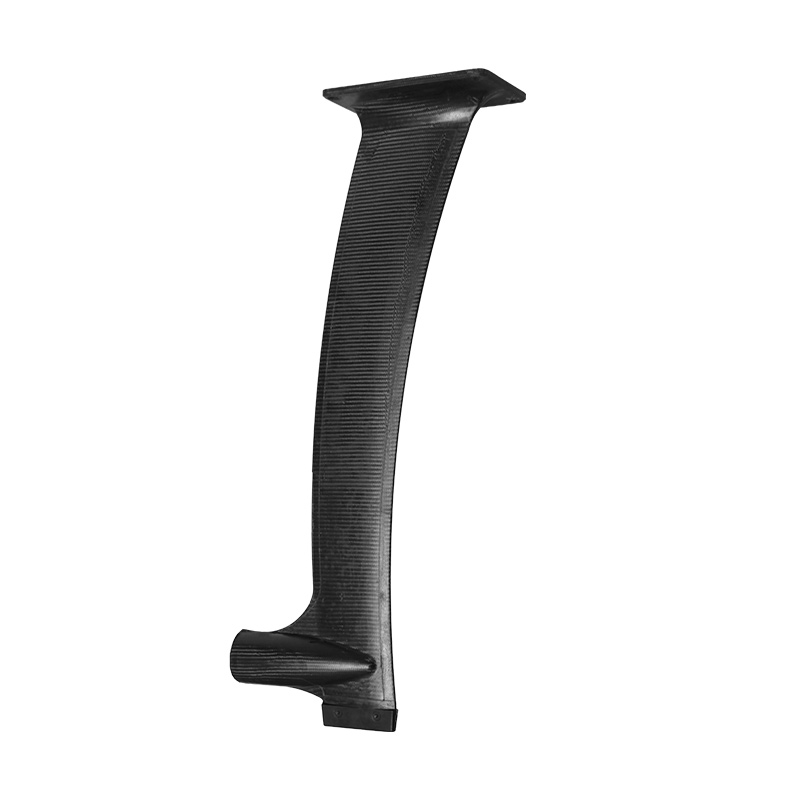
The fin is a crucial component of a windsurfing board, as it helps stabilize the board, prevent it from sliding sideways, and allows you to maintain a straight course. Most boards use a specific fin system, such as a Power Box, Tuttle Box, or Slot Box, to securely attach the fin.
1. Steps to Attach the Fin:
- Identify the Correct Fin Slot: The fin slot is located on the underside of the board. Beginner boards often have two slots: a central slot for a larger fin and a rear slot for a smaller one. The central fin is typically longer to provide more stability, while the rear fin assists with tracking and maneuvering.
- Insert the Fin: Align the fin base with the slot. For most systems, slide the fin into the slot from the rear, ensuring the fin is fully seated. If your fin uses screws, align the holes on the fin with the holes in the slot.
- Secure the Fin: Use the screws or bolts provided to attach the fin securely to the board. Tighten the screws firmly but not excessively, as over-tightening can damage the threads or fin box. Check that the fin is aligned straight and does not wobble.
In conclusion, insert the main fin into the middle slot under the board for stability.
2. Attaching the Mast
The mast is the vertical pole that supports the sail and transmits wind power to the board. It is attached to the board using a mast base, which connects to the universal joint (UJ) on the board.
- Position the Mast Foot (Universal Joint): Locate the mast track on the board, which is typically in the middle. Insert the mast foot into the mast track and slide it to the desired position. For beginners, place the mast foot closer to the center or slightly forward in the track. This position provides better stability and easier control.
- Attach the Mast to the Base: Once the mast foot is secure, insert the mast into the sail’s mast sleeve and connect it to the mast base. Ensure the mast is fully inserted and aligned with the sail.
- Adjust the Sail Tension: Tighten the downhaul (the rope at the bottom of the sail) to properly tension the sail. The sail should be tight but not overly strained. Adjust the outhaul (the rope connected to the boom) to set the sail’s shape.
- Secure the Mast Base: Double-check that the universal joint and mast foot are tightly locked in place. Ensure there’s no play or movement between the mast and the board.
So, all in all, position the mast foot on the centerline, adjusting slightly backward if using smaller sails for easier turning.
Choose Ideal Conditions:
Selecting the right conditions is crucial for a smooth and enjoyable windsurfing learning experience. For beginners, calm and manageable conditions significantly improve stability, confidence, and overall progression.
1. Wind Speed: 3 to 15 Knots
Wind speed plays a critical role in determining how manageable and safe the session will be for beginners.
- 3 to 7 Knots (Light Wind): Ideal for complete beginners who are learning to balance on the board and handle the sail. Light winds allow you to practice basic rig control, stance, and getting familiar with the equipment without the sail pulling too strongly.
- 8 to 15 Knots (Moderate Wind): Suitable for beginners who are ready to progress to sailing across the wind and learning simple turns. Provides enough power to experience the thrill of windsurfing while remaining manageable.
- Why Not Higher Winds? Winds above 15 knots can be challenging for beginners due to stronger sail forces, choppier water, and faster speeds. These conditions require more advanced control and experience.

2. Water Conditions: Flat Water
Calm, flat water environments are the best training grounds for beginners as they provide stability and eliminate unnecessary challenges.
Why Flat Water?
Flat water reduces the likelihood of falling and helps you focus on learning techniques like rig handling and stance. It’s easier to balance and maneuver without dealing with waves or choppy surfaces.
Where to Find Flat Water?
- Lakes or Reservoirs: These are excellent locations with sheltered, flat water.
- Sheltered Bays: Coastal bays protected by natural barriers like breakwaters often have calmer waters.
- Low Tide Areas: Some beaches offer flat, shallow areas during low tide, making them ideal for beginners.
3. Avoiding Unfavorable Conditions
Knowing what to avoid is just as important as finding the right conditions:
- Strong Gusty Winds: Inconsistent wind makes sail control difficult.
- High Waves or Swells: These can unbalance you and make it harder to practice basic skills.
- Busy Spots: Crowded areas with advanced riders can be intimidating and dangerous for beginners.
- Strong Currents or Tides: These can pull you off course and make returning to your starting point difficult.
4. Time of Day
- Morning or Early Afternoon: Winds are often lighter and more consistent, making it an ideal time for beginners to practice.
- Evenings: Winds might calm down, but always check local conditions as they can vary.
Our suggestion is beginners should practice in flat water with winds between 3 to 15 knots.
Starting Windsurfing: Step-by-Step
1. Recovering the Rig from Water
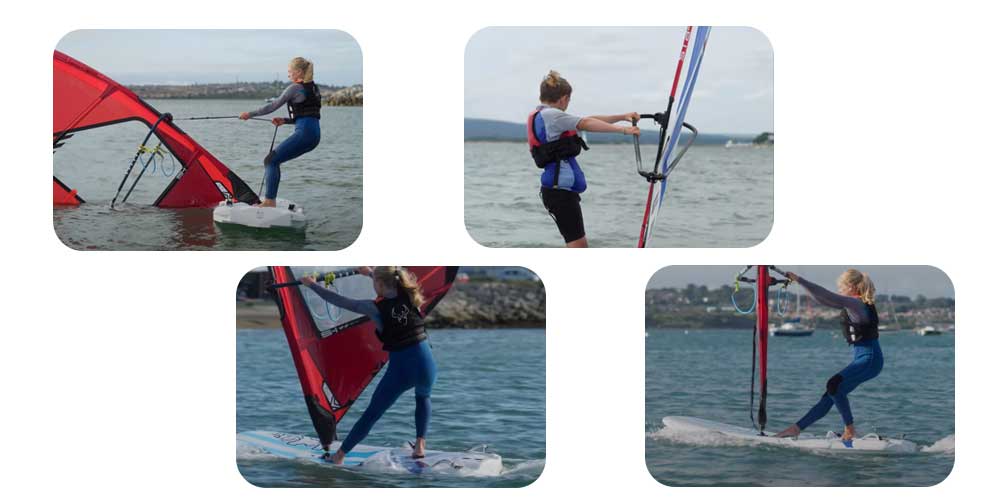
- Stand on the board with your weight over the centerline.
- Pull the sail out of the water using the uphaul, keeping your back straight and using your legs for strength.
2. Secure Position
- Hold the mast below the boom with extended arms.
- Keep the sail at a 90-degree angle to the board. This secure position is your starting point for all moves.
3. Basic Sailing Stance
- Place your front hand on the boom and your front foot forward.
- Align your hips and shoulders toward your goal point.
- Pull gently on the back hand to generate power and lean your weight on the back leg to maintain control.
Steering Techniques
Understanding how to steer and execute basic turns is a fundamental skill in windsurfing. Mastering these techniques allows you to control your direction and navigate the wind effectively. Here’s an in-depth explanation of the three key sections.
1. Steering Toward the Wind
Steering toward the wind, also known as “heading windsurfing upwind,” requires precise rig positioning and body alignment. This maneuver is essential for navigating closer to the wind direction and is a critical skill for sailing efficiently.
- Lean the Rig Backward: Shift the sail slightly back, angling it toward the tail of the board. This redirects the wind force to turn the board toward the wind.
- Extend Your Back Arm: Fully stretch your back arm to control the angle of the rig. This keeps the sail stable and helps you guide the board effectively.
- Shift Your Hips in the Opposite Direction: Move your hips slightly away from the sail’s direction to counterbalance the rig’s tilt. This ensures your body weight stays over the centerline, maintaining board stability.
- Focus on a Goal Point: Look windsurfing upwind and pick a target direction to steer towards. Keeping your head and eyes focused helps align your movements with the board’s trajectory.
2. Steering Away from the Wind
Steering away from the wind, or “bearing away,” is used to sail in a downwind direction. This maneuver requires lowering resistance and positioning the sail to harness the wind’s force effectively
- Lean the Rig Forward: Push the sail slightly forward toward the nose of the board. This reduces the wind’s resistance, allowing the board to turn away from the wind.
- Extend Your Front Arm: Straighten your front arm to guide the rig into the correct position. This helps direct the wind’s force to steer the board downwind.
- Keep Your Body Weight Low: Lower your center of gravity by bending your knees. This increases stability, especially in stronger winds or choppier water.
- Focus on Smooth Movements: Avoid sudden or jerky motions. A gradual lean forward ensures controlled steering.
3. Basic Turns (Static Turn)
The static turn, also known as a “pivot turn,” is the simplest way to change direction. It involves rotating the board while maintaining control over the rig and your body position.
- Start in the Secure Position:Hold the mast with both hands in a stable, upright stance. Ensure your weight is evenly distributed over the centerline of the board.
- Learn the Rig Toward the Back of the Board: Gently tilt the sail backward. This shifts the board’s direction windsurfing upwind, initiating the turn.
- Take Small Steps Around the Mast Foot: Walk carefully in a circular motion around the mast base. Keep your steps small and controlled to maintain stability.
- Complete a 180-Degree Turn: Rotate the board until it points in the opposite direction.Keep the rig leaned back to ensure a smooth and steady turn.
- Return to the Secure Position: Once the turn is complete, bring the rig back to the upright position. Regain balance and prepare to resume sailing.
Other Skills Start Windsurfing
Tack and Jibe for Better Control
Mastering tacking and jibing is essential for controlling your windsurfing board and maneuvering efficiently in varying wind directions. Here’s a deeper dive into these moves, along with advanced windsurfing upwind sailing techniques and the self-rescue butterfly method.
1. Tacking
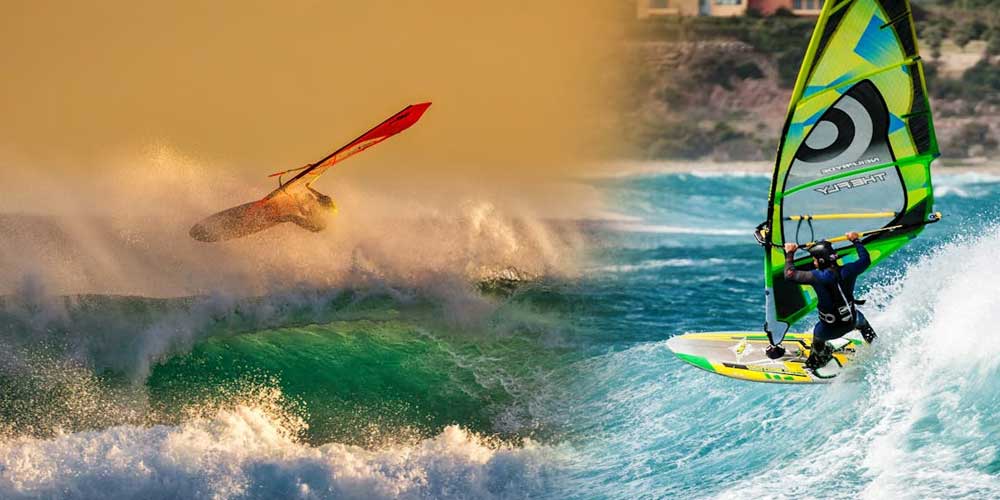
- Steer into the wind, step around the mast, and reposition the rig to sail away.
- This move allows you to change direction efficiently when heading upwind.
2. Jibing
- Learn the rig forward and towards the wind to steer downwind.
- Shift your body weight as you transition the sail to the opposite side, maintaining balance.
Advanced Tips for Upwind Sailing
To sail upwind, you’ll need to zigzag at an angle of about 45 degrees to the wind. This technique involves:
- Steering towards a goal point closer to the wind.
- Maintaining your position and tacking as necessary to adjust direction.
Self-Rescue: The Butterfly Technique
If the wind dies or you drift downwind, you can perform a butterfly rescue:
- Lower the rig onto the back of the board and lie down to paddle back to shore.
Key Tips for Success
- Always focus on your goal point to stay balanced and oriented.
- Keep your boom height between chest and shoulder for comfort and control.
- Face forward with hips and shoulders aligned to stabilize the rig.
Conclusion
Starting windsurfing is an exciting challenge that rewards persistence and practice. With the right setup, conditions, and techniques, you’ll be sailing confidently in no time. Remember to enjoy the process and embrace the thrill of learning a new skill. Now, grab your gear and start windsurfing!

