Water skiing sport combines the rush of speed, the challenge of balance, and the finesse of technique into an exhilarating experience on the water. Whether you’re stepping onto skis for the first time or aiming to conquer a slalom course, this guide offers a detailed path to success. From foundational skills on two skis to advanced timing on a single ski, you’ll learn how to ski safer, stronger, and with greater precision. Let’s explore the journey from novice to expert, covering body positioning, equipment choices, and the critical interplay of technique and timing.
If you are looking for a water skis composite manufacturer, welcome to send us an inquiry, thank you!
Starting with Two Skis
Every water skier’s journey begins with two skis, a stage that builds essential skills even for those eyeing slalom skiing. Starting here isn’t just for beginners—it’s a deliberate choice to master weight shifting and wake navigation before advancing.
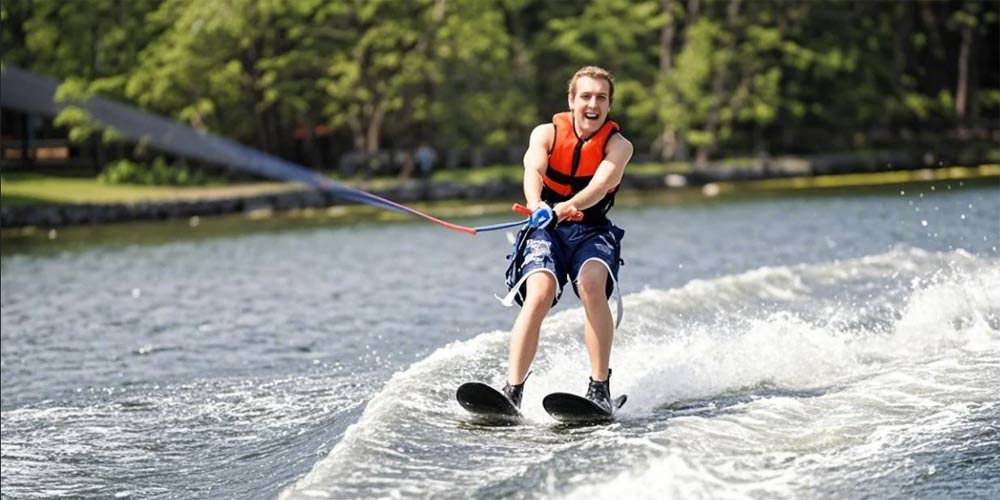
To get up on two skis, position them parallel, knees bent toward your chest, and arms extended straight as the boat pulls. A steady, gradual acceleration lifts you out of the water. Once upright, practice moving back and forth by subtly shifting your weight from one side to the other. This introduces directional control and helps you feel the skis’ response. Next, tackle the wakes—those small waves trailing the boat—by crossing them gently, leaning into the movement to maintain balance.
A standout exercise at this stage is “walking on water.” While water skiing, shift all your weight to one ski, hold it briefly, then switch to the other. This reveals which foot feels more comfortable bearing your weight, a key indicator of which should lead when you transition to one ski. Another method, the “push test,” involves a friend pushing you from behind on land. The foot you step forward with is often your front foot, accurate about 75% of the time, though comfort on the water remains the ultimate decider. These drills lay the groundwork for confidence and control.
Transitioning to Slalom Skiing
Once you’re steady on two skis, dropping one to slalom ski marks the next milestone. This approach, favored for its ease on the body, saves your forearms and hands from excessive strain compared to starting directly on one ski.
Begin by confirming your front foot using the two-ski exercises. To drop a ski, shift your weight fully to the front foot, slide the back foot out of its binding, and let the loose ski float away for the boat crew to retrieve. There’s no shame in this method—it’s a practical, widely taught technique that even seasoned skiers revisit to refine their skills.
Getting up on one ski offers flexibility. Smaller skiers, like kids, often start with both feet in the bindings for stability, while adults or those with experience might drag the back foot behind until ready to slide it in. The choice depends on your size, strength, and comfort. For dragging, keep the back foot lightly skimming the water until you’re upright, then ease it into the rear binding. Practice makes this transition seamless, setting you up for slalom success.
Perfecting Your Body Position
Body position is the backbone of effective slalom skiing, ensuring safety and efficiency from your first pull to your fastest runs. The ideal stance forms a straight line from knees to neck, achieved by tilting your pelvis under. Men should roll their shoulders back to counter chest weight, while women lift their hips to offset hip heaviness. Avoid breaking at the waist or chest—bending here risks back injury or tips you forward, overloading the ski’s front, which isn’t designed for it.
Your arms are equally critical. Tuck your elbows to your sides, imagining newspapers pinned under your armpits. This keeps the boat from pulling you forward, a common beginner mistake where the rope stretches away, destabilizing you. Instead, be “stingy” with the rope—hold it close, shoulders back, chest up, and knees soft. This stance absorbs wake stress through your legs, not your upper body, creating the strongest, safest position. Watch any pro skier preparing for the gates; this is their default posture, universal from novice to elite.
Handle grip refines this further. Don’t squeeze tightly—over-gripping fatigues your forearms and causes blisters. Instead, let the handle rest in your fingertips, forming a loose hook. This leverages your forearm strength efficiently, minimizing strain. For hand placement, if your right foot is forward, your left palm faces up (and vice versa). This aligns your upper body’s lean with your lower body’s natural tilt, fostering symmetry and smoother turns. While some skiers stack the same hand and foot forward, the opposite-hand-up approach is preferred for balance, though personal comfort trumps all after years of habit.
Water Skiing Sport Equipment
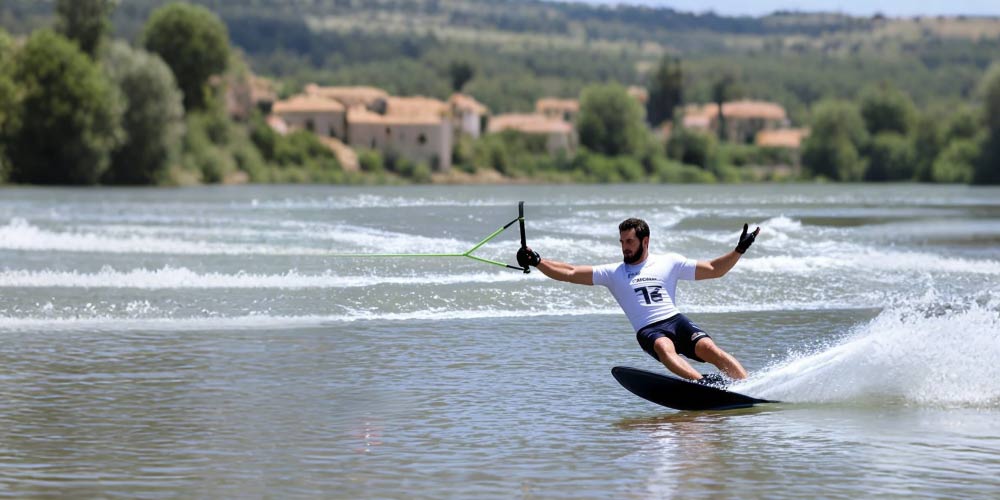
Equipment shapes your water skiing experience, and choosing wisely enhances both performance and safety. Here’s a deep dive into skis, boots, and handles.
Ski Size:
-
Bigger is better for beginners. More surface area—think a ski at least as long as your height (e.g., 66 inches for a 5’6” skier)—offers stability and masks technical flaws. A six-year-old once popped up on a 69-inch ski like it was a surfboard, proving the power of size. Wider tails support slower speeds (e.g., 26 mph) and easier turns, while narrower, shorter skis suit faster runs (e.g., 34 mph) or shorter lines. A high-end ski won’t magically make you a pro—support matters more than price at slower speeds.
Water Skiing Boots:
-
Three types cater to different needs:
- Lace-up boots: Stiff with strong lateral support, these shine in double-boot setups where both feet stay in. Tighten just enough to hold without locking your ankles.
- Rubber boots: Slipped on with soap, these are favorites if fitted right, releasing in 99% of falls—a must for safety. Tighten the bottom lace across your toes for stability, keeping the top bungee looser to ensure release. Test this on the dock: if someone steps on the ski and your foot pulls free, it’s safe.
- Hard-shell boots: Clip-in like snow boots, designed to pop off in falls. Fit is king—too loose invites twists; too tight restricts flexion.
Proper fit creates upward pressure to eject your foot in a crash, reducing injury risk. Oversized boots lack this, as one skier learned when a loose fit led to a twisted foot and a broken bone. Tighten the bottom for control, not the top, preserving ankle flexibility.
Handle
-
Opt for a 12- or 13-inch bar based on elbow comfort—your arms should tuck naturally. Hold it flat, parallel to the water, to keep shoulders level, avoiding the urge to steer with it. A handle guard adds safety for aggressive water skiing sports, preventing arm entanglement, especially in competition. Life jackets should fit snugly but allow elbow squeeze—padding on the sides, not front, works best.
Boot Placement
-
Start with the manufacturer’s stock settings, typically the center hole. Adjust forward for better turn engagement if softening your knees isn’t enough, or back if you’re tipping forward across wakes. Keep front and back boots a finger-width apart—too close hampers turns; too far (e.g., 3-4 inches) shifts your center of gravity, common in factory setups but fixable.
Advanced Water Skiing Techniques
Advancing in water skiing boils down to two words: technique and timing. These principles transform free skiing into course mastery.
- Free Water Skiing: Stay within a manageable width behind the boat, keeping the rope taut. The “work zone”—from wake spray to spray—is where you apply effort: squeeze your elbows, lean, and stay still, like balancing a fruit bowl on your head. Absorb wakes with your knees, then ease up after the second wake, letting the ski decelerate to avoid slack. It’s a pendulum swing—push smoothly through the bottom (wakes), pause at the top (outside), and swing back. Over-pulling creates slack; timing prevents it.
- Mini Course: Transition to buoys with a “mini course,” where the boat runs off-center, halving the distance to markers (e.g., 19 feet vs. 38). Navigate these wider-spaced buoys to build confidence without sacrificing form, keeping speed controlled.
- Training Course: Move to a centered boat path, targeting green buoys 30 feet out. Pull right as the water ski boat passes the pre-gates, water skiing sports between green and red buoys (8 feet apart). Start turns early—imagine a buoy 20 feet before the real one—to finish at the marker, not begin there. This creates space and calm, refining your timing.
- Gates: Gates demand precision. As the boat nears the pre-gates, pull left into the whitewash, count “out two three, glide two three,” then lean naturally as the boat crosses the gates. Aim inside the red ball, matching your free-ski lean. Overcompensating disrupts the run—better to overshoot slightly than let up mid-lean. Think of Newton’s Cradle: pull out high, and the work zone sends you equally high on the other side.
Safety and Efficiency
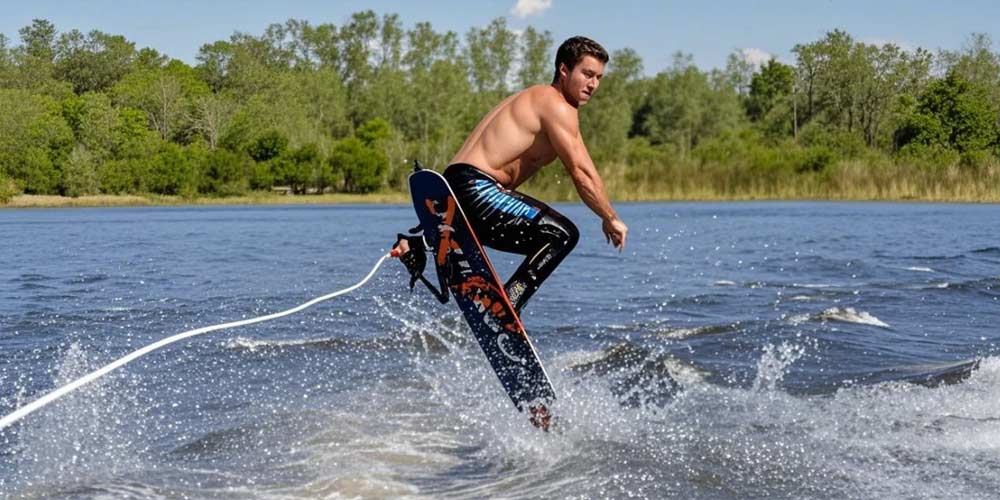
Water skiing’s high-impact nature requires vigilance.
- Boot Safety: Test release—rubber and hard-shell boots should pop off in falls, while lace-ups stay snug in doubles. Avoid overtightening the top, preserving ankle flexion for knee softening. Rubber boots forgive errors; stiff boots amplify them, so master stillness first.
- Ski Like a Girl: Finesse beats force. Ski like a pendulum, not a powerhouse—smooth swings ease effort and fatigue. A burly skier once struggled at 26 mph until advised to “ski like a girl” at 28 mph, transforming his run into the easiest ever by trusting the swing over muscling it.
- Injury Prevention: Twisted ankles, torn knees, and snapped Achilles stem from ill-fitted boots or poor form. Fit and technique are your shields—prioritize both.
Conclusion
Water skiing sport rewards dedication to technique and timing. From two-ski drills to gate mastery, success hinges on aligning your body, gear, and rhythm with the water’s flow. Practice refines skill, but patience perfects it. Embrace the pendulum, ski smart, and let the sport’s thrill propel you forward.

