If you’re looking to dive into the exhilarating world of parawing foiling, you’re in for an exciting ride! Combining the thrill of foiling with the unique dynamics of a parawing, this water sport is gaining traction among enthusiasts. Whether you’re a beginner or an experienced foiler looking to expand your skills, this guide will walk you through the essentials of parawing and parawing foiling, based on real-world experiences from seasoned YouTubers. Let’s break it down step-by-step so you can hit the water with confidence!
What is Parawing Foiling?
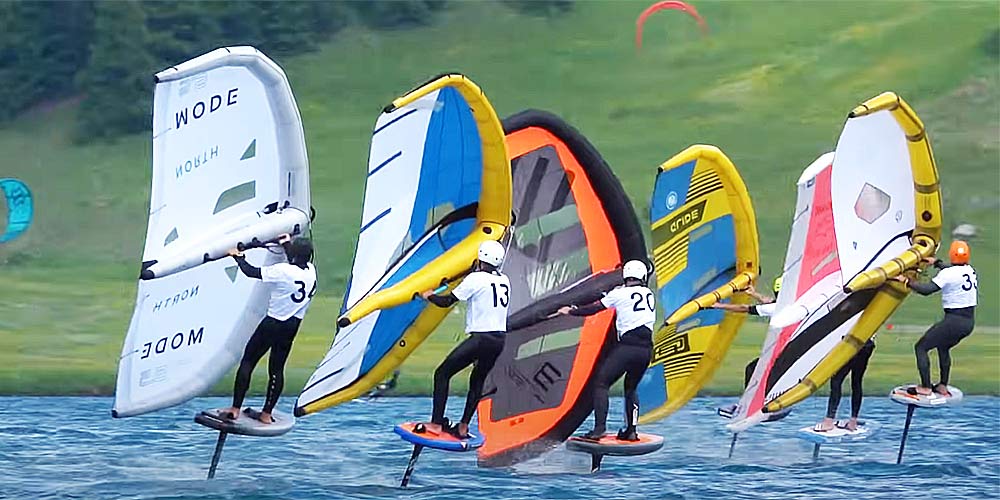
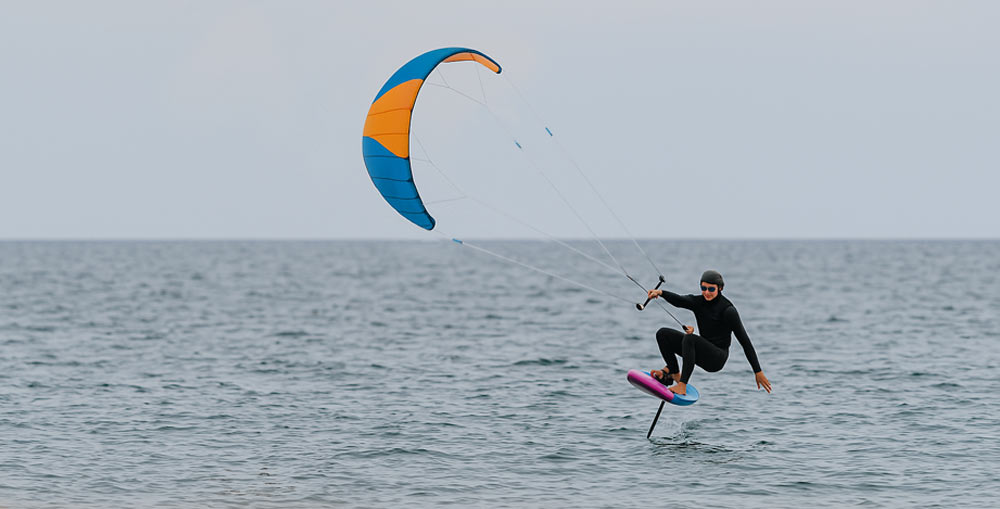
Parawing foiling is a hybrid water sport that uses a lightweight, inflatable parawing to harness wind power, propelling you across the water on a foil board. Unlike traditional wing foiling, the parawing offers a minimalist design that can be packed away mid-session, making it a versatile tool for learning to ride swells or practicing pumping techniques. Available in sizes like 1.8m, 2.9m, 4m, 5.1m, and 6m, choosing the right parawing is key to mastering this sport.
How Does Parawing Foiling Work?
To get started, the rider holds the parawing in their hands and positions it to catch the wind. As the wind generates forward momentum, the hydrofoil beneath the board lifts the rider above the water, reducing drag and increasing efficiency. Since the parawing can be depowered instantly, riders can use it to get onto the foil and then let it drift while riding waves or practicing advanced pumping techniques.
Benefits of Parawing Foiling
-
-
Compact and Lightweight: The inflatable design makes the parawing foiling easy to transport and store.
-
Versatile Riding Styles: Ideal for both powered and unpowered foiling, allowing for smooth transitions between wind-driven and swell-driven movement.
-
Beginner-Friendly: The ability to let go of the wing simplifies handling and provides a safer learning experience.
-
Adaptability to Wind Conditions: Available in different sizes, parawings can accommodate various wind strengths and rider preferences.
-
Why Choose Parawing Foiling?
The parawing isn’t here to replace wing foiling—it’s a minimalist tool that opens new doors. It’s perfect for:
-
- Beginners learning downwind foiling with a forgiving assist.
- Experienced riders wanting to ride smaller boards or hone pumping skills.
- Anyone craving the freedom of stowing gear mid-session for hands-free swell riding.
Getting Started with Parawing Foiling
Selecting the appropriate parawing size is crucial for maximizing performance and control while foiling. The right size depends on several key factors, including wind conditions, rider weight, skill level, and gear setup. Choosing a wing that is too small may leave you struggling to generate enough lift, while an oversized wing can be difficult to control, especially in stronger winds. Here’s how to get started with parawing foiling:
1. Choose the Right Parawing Size
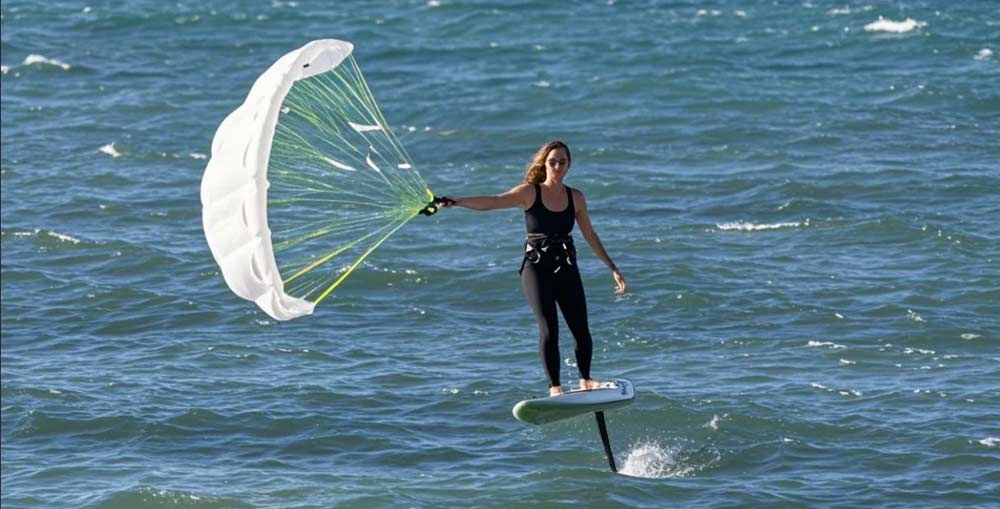
Picking the correct parawing size depends on wind conditions, your weight, skill level, and gear. For example:
-
-
-
1.8m: Best suited for high-wind conditions of 25+ mph (40+ km/h). This size is ideal for experienced riders who need a smaller, more controllable wing in strong winds or for lighter riders who want to avoid excessive power.
-
2.9m: Performs well in moderate winds of 20-25 mph (32-40 km/h). A great choice for medium-weight riders in breezy conditions, offering a balance of power and control.
-
4m: Suitable for wind speeds of 15-20 mph (24-32 km/h). This is a popular all-around size, offering good versatility for a wide range of conditions.
-
5.1m or 6m: Designed for light-wind conditions below 15 mph (24 km/h) or for heavier riders who need more power to compensate for their weight.
-
-
To illustrate, a 95kg (210 lbs) rider attempted to use a 4.2m parawing in 15-knot (17 mph/28 km/h) winds but found it insufficient to generate the necessary lift for easy takeoff. After switching to a 5.5m wing, they experienced a significant improvement in power and control, making it much easier to get up and maintain flight.
To ensure the best performance, always match your parawing size to the local wind conditions and your body weight. If you’re uncertain, consider testing different sizes or consulting experienced riders in your area.
2. Practice on the Beach
Before heading out onto the water, take the time to practice handling your parawing on land. This step is essential for developing muscle memory, improving wing control, and becoming comfortable with how the wing responds to different wind angles and hand movements. Practicing on the beach will give you confidence when transitioning to the water, making the learning process smoother and more enjoyable. Focus on:
-
- Wing Positioning: Understanding how to hold the wing properly is fundamental. The goal is to keep the wing aloft and maintain tension in the leading edge by finding the “sweet spot” between the front and back lines. If you pull too hard on the front, the wing may collapse; too much pressure on the back can cause it to stall. Experiment with minor adjustments to find the optimal angle for maintaining steady lift.
- Hand Placement and Control: Proper hand placement is critical for maintaining control and balance. Practice switching hands while holding the wing, steering with both arms, and adjusting your grip to improve coordination. This will prepare you for real-time adjustments while foiling.
- Wind Awareness: Walk along the beach while keeping the wing powered and observe how small changes in angle affect the pull. Adjust your stance and positioning to maintain control as the wind shifts. This will help you develop an intuitive feel for how the wing behaves, making it easier to react to changing conditions once you’re on the water.
3. Gear Up
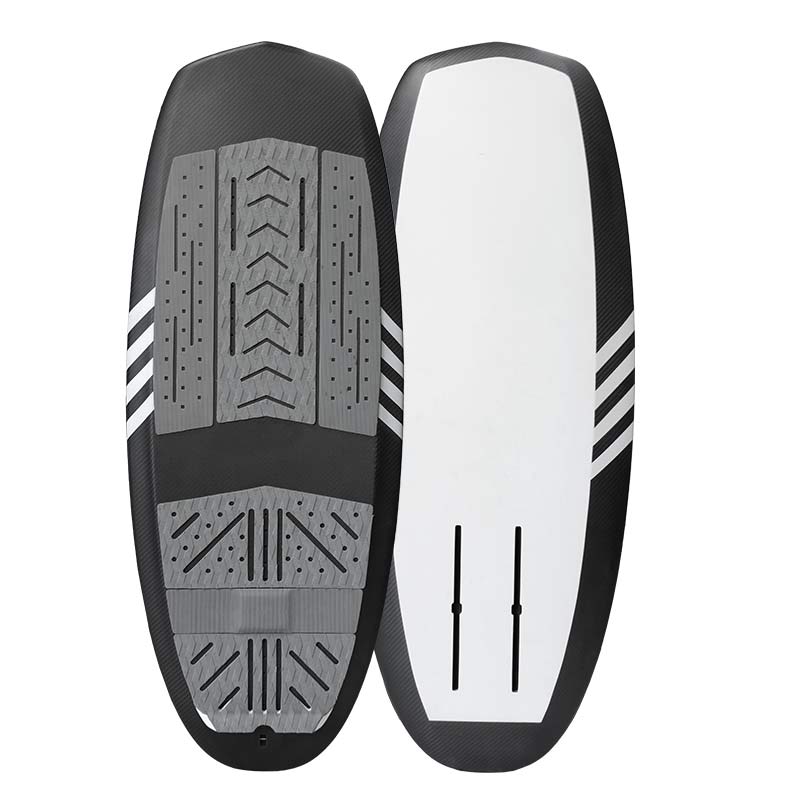
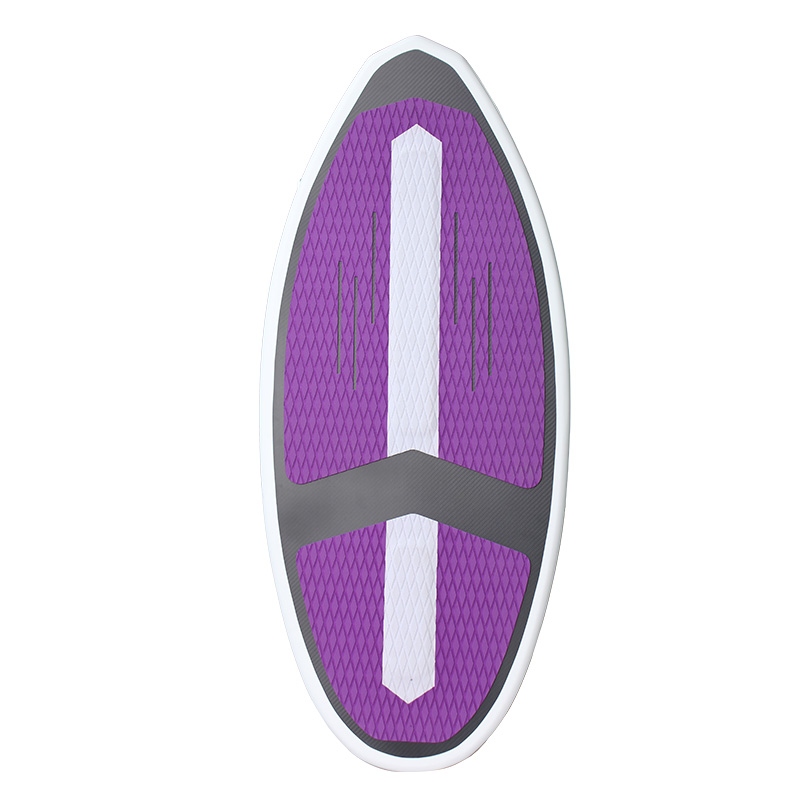
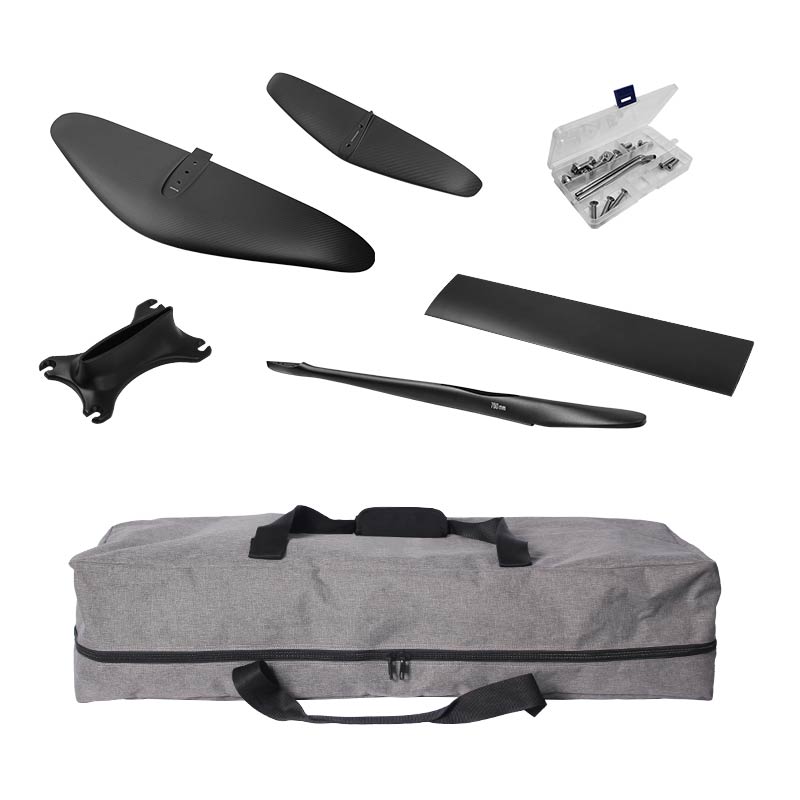
Pair your parawing with the right foil and board. Beginners benefit from higher-volume boards (e.g., 100L) and larger foils (e.g., 1300-1540 cm²) for stability and easier lift-off. As you progress, you can downsize for more control, but avoid going too small too soon—over-foiling can make edging tricky in high winds.
-
-
Boards: Beginners benefit from higher-volume boards (e.g., 100L or more), as they provide added buoyancy and stability for easier take-offs. As you improve, you can transition to a smaller board for more responsiveness.
-
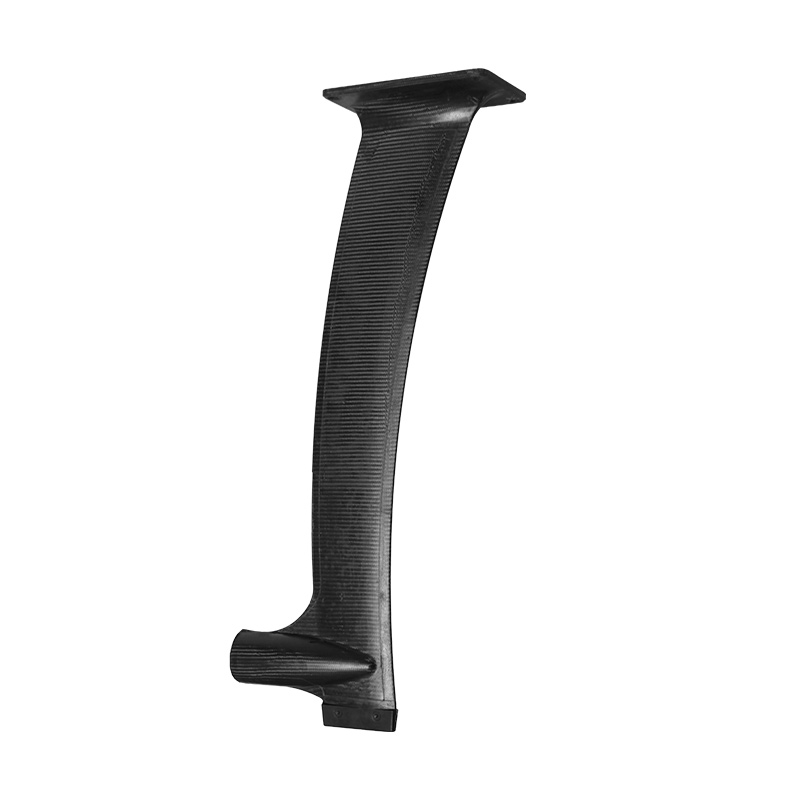
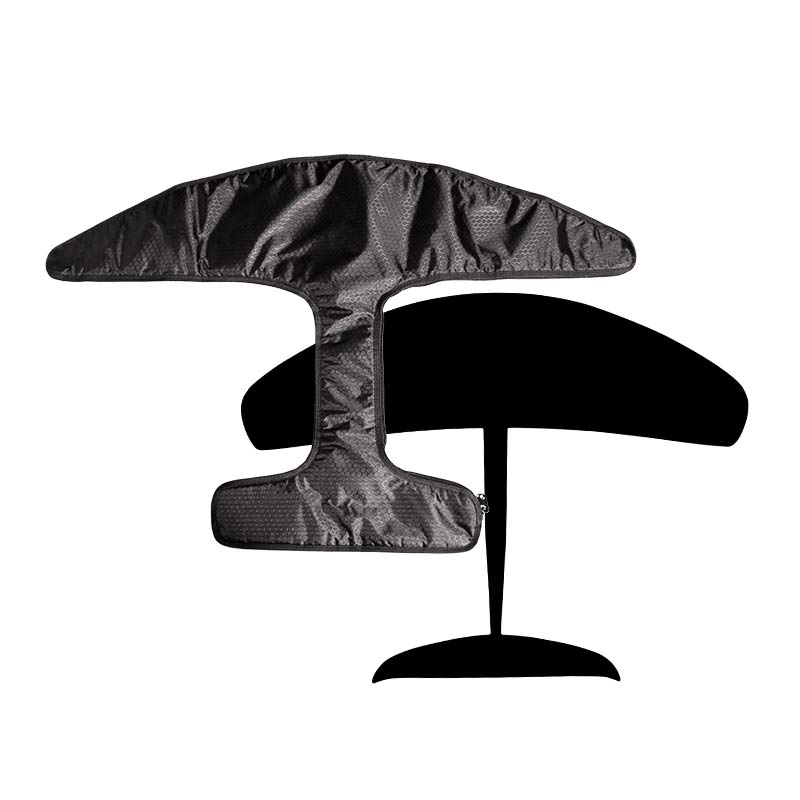
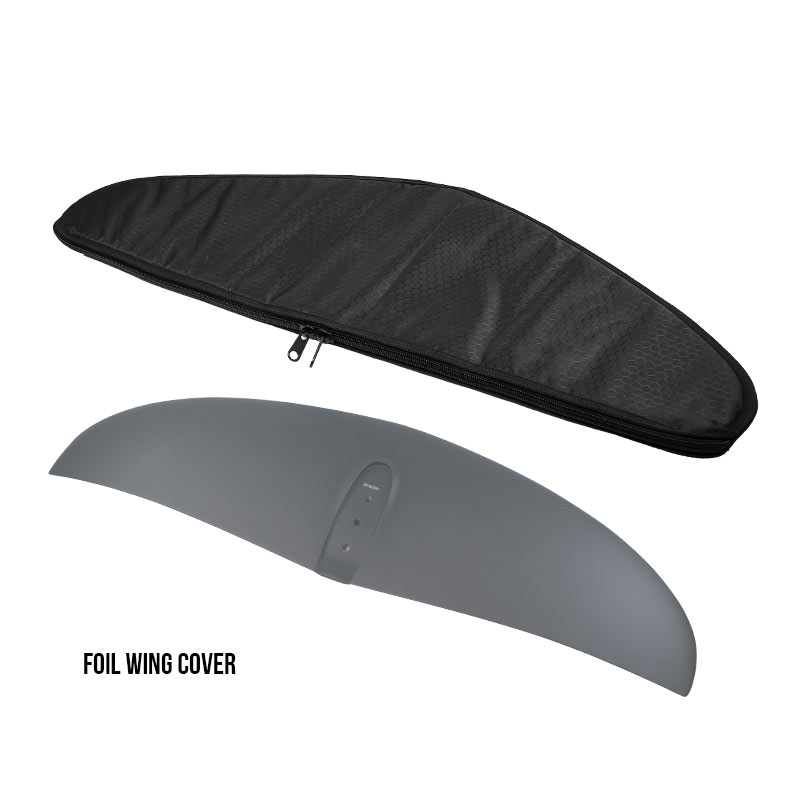
Foils: A larger front wing (e.g., 1300-1540 cm²) offers more lift at lower speeds, making it easier to get up and stay foiling. Smaller foils provide more speed and maneuverability but require better technique.
-
Avoid going too small too soon—over-foiling can make controlling your ride difficult, especially in gusty conditions. As a general rule, start with a forgiving setup and gradually scale down as your skills improve.
4. Mastering the Water Start
Once you’re comfortable with handling the wing, it’s time to get on the water. Here’s how to execute a smooth water start:
-
-
Position Your Board: Begin on your knees with the wing resting on the water in front of you.
-
Sheet In the Wing: Slowly bring the wing up and power it by pulling in slightly, keeping it steady in the wind.
-
Find Your Footing: Place your back foot first, followed by your front foot, while maintaining control of the wing.
-
Engage the Foil: As you gain speed, shift your weight slightly back to lift onto the foil. Avoid sudden movements to prevent breaching or stalling.
-
Patience is key—parawing foiling requires a blend of balance, wind awareness, and foil control. With consistent practice, you’ll soon be gliding effortlessly over the water.
The Parawing Foiling Techniques
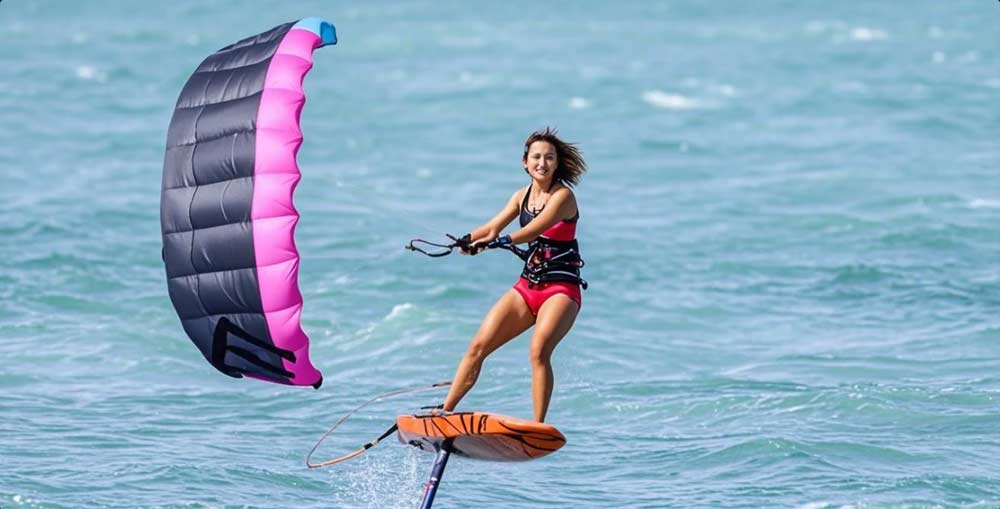
Mastering parawing foiling techniques is essential for a smooth and efficient riding experience. Whether you’re launching, riding, or packing up your parawing, understanding the right techniques can make a significant difference in performance and ease of use. From proper takeoff angles to optimizing your pumping efficiency, each step plays a role in refining your foiling skills. Additionally, learning to manage different wind conditions will help you make the most out of your sessions, whether you’re riding in steady breezes or dealing with light wind challenges.
By focusing on the fundamentals and continuously refining your technique, you’ll build confidence and efficiency, ultimately enhancing your overall foiling experience.
Launching Your Parawing on the Water
Once you’re ready to hit the waves, launching your parawing efficiently is crucial:
- Straddle Your Board: Sit on your board for maximum stability, grab the leading edge of the parawing foiling, and throw it into the air. This prevents it from touching the water and ensures a clean launch.
- Angle Your Takeoff: Avoid going straight downwind. Aim for a 45° angle to maintain tension and make takeoff easier. Once airborne, transition from knees to feet while pumping to get on foil.
- Light Wind Tip: In lighter conditions (12-15 knots), wet parawings struggle to lift off. Bunch the leading edge to drain water, then toss it skyward to get going.
Riding and Pumping with a Parawing
Once you’re up, parawing foiling shines as a tool for learning to ride bumps and pump efficiently:
- Riding Bumps: Spot a swell, depower your parawing by stalling it (pull the back lines), and ride the wave. If you lose momentum, relaunch it for an assist—perfect for mastering downwind runs without a paddle.
- Pumping Practice: In flat water with steady wind, use the parawing to practice pumping. Deploy it for a boost, depower to focus on technique, and repeat. It’s more forgiving than dock starts and builds endurance.
Packing Up Your Parawing
One of the parawing’s unique advantages is its packability mid-session:
- Stall it by pulling the back lines, grab them, and wrap the lines inside as you fold it. For hands-free riding, stow it in a belt or mesh backpack (a game-changer for portability). Avoid paddling with it loose on your board—it’s a hassle in shore breaks or surf.
Challenges of Parawing Foiling
While parawing foiling is rewarding, it’s not without hurdles:
- Light Wind Struggles: Below 15 knots, parawings lose effectiveness, sticking to the water when wet and refusing to fly. A larger size (e.g., 5.5m) helps, but the low-end is narrower than traditional wings.
- Overpowering: In 25+ knots, smaller parawings (e.g., 4.2m) can pull too hard, making control tough—especially with oversized foils. Downsizing your foil (e.g., to 960 cm²) may improve edging.
- Upwind Performance: You can go upwind, but it’s less efficient than wing foiling. Expect a workout on your arms unless you use a harness.
Tips for Parawing Success
- Start in 15-20 Knots: This sweet spot balances power and control for most sizes.
- Size Up: If you’re struggling to get up, go bigger—a 5.5m parawing beats a 4.2m for heavier riders or lighter winds.
- Ditch the Leash: In surf, avoid tangling risks by skipping the leash—let it drift if you crash.
- Watch Tutorials: Check out Board Riding Maui’s YouTube channel by Greg for expert insights on parawing foiling techniques.
Final Thoughts
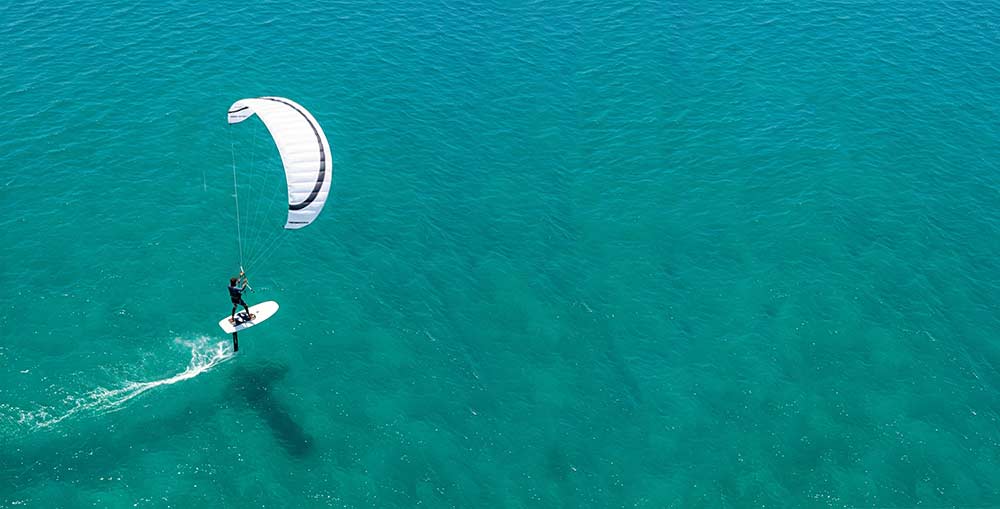
Parawing foiling is a challenging yet thrilling addition to the foiling world. It demands practice, the right conditions, and properly sized gear—but the payoff is worth it. Whether you’re pumping in flat water or carving downwind bumps, parawing offers a unique blend of assistance and freedom. Ready to give it a shot? Grab your parawing, hit the water, and let us know your experiences in the comments! If you looking for a hydrofoil factory to custom the board and foil, welcome to contact us.

