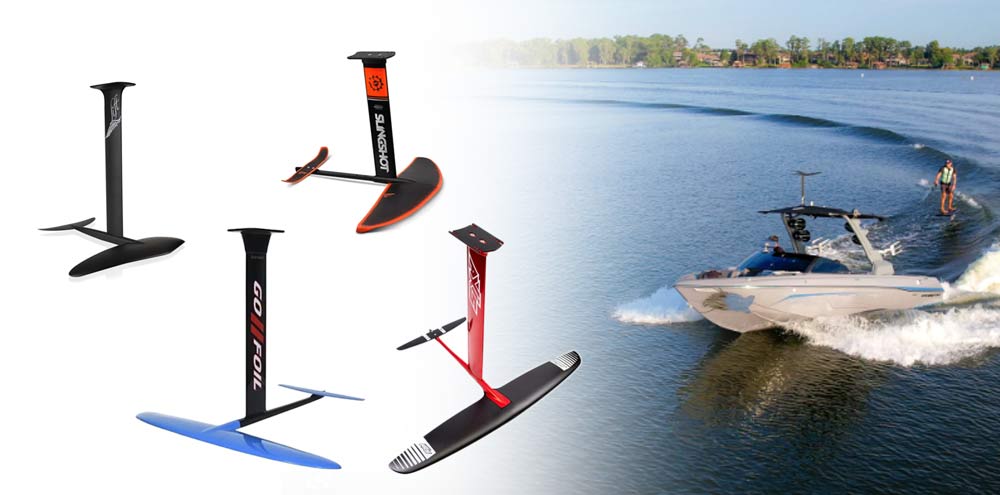
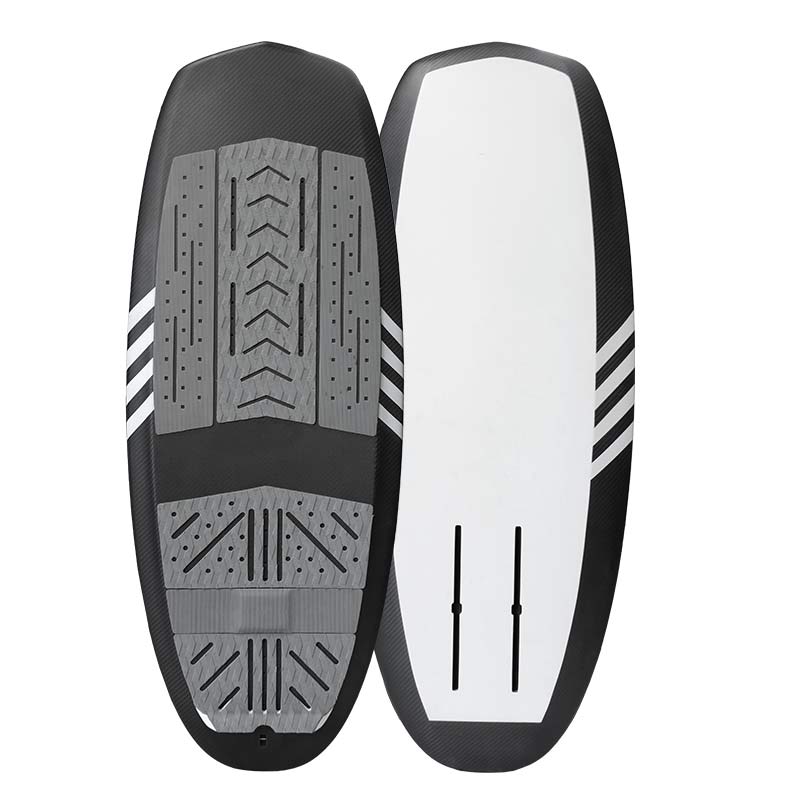
Regardless of the level of surfers, the skill of surfboard repair is super helpful for them. Carbon fiber surfboards are renowned for their performance, strength, and lightweight characteristics. However, their rigidity also makes them susceptible to significant damage from impacts or crashes. While minor repairs can be handled with basic tools and materials, larger repairs demand precision, patience, and specialized techniques.
This guide provides a step-by-step professional-grade process for repairing extensive carbon fiber damage, ensuring your surfboard regains its structural integrity and longevity. Here are 7 processes about glass fiber or carbon fiber surfboard repair from a 10+ year composite manufacturer for your references. If you are interested in building a Composite surfboard, welcome to contact us for more details, thank you.
1. Assessing the Damage
Before the surfboard repair, we need to assess the damage of your board.
1.1 Identifying Delamination and Cracks
The first step in any surfboard repair is assessing the extent of the damage. Carefully inspect the affected area for:
- Visible cracks in the carbon fiber laminate.
- Delamination, where the carbon fiber separates from the foam core.
- Soft spots in the foam core that indicate structural compromise.
- Loose or shattered carbon fiber layers that need removal.
Gently press around the damaged area to check for movement. If the surrounding material flexes more than usual, the damage may be more severe than it appears, requiring additional reinforcement. Use a flashlight or backlighting method to inspect for internal fractures that may not be immediately visible. If the damage extends beyond the surface layer, consider a more extensive surfboard repair approach to prevent further deterioration.
If water has seeped into the damaged area, allow the board to dry completely before proceeding with surfboard repairs. Moisture trapped within the foam core can lead to additional structural weaknesses and delamination over time. Placing the board in a warm, dry environment or using a vacuum pump can help expedite the drying process.
1.2 Setting Surfboard Repair Boundaries
Before starting the actual carbon fiber surfboard repair, it’s important to define the area that needs work. Use an oscillating multi-tool or a sharp utility knife to cut a clean, square or rectangular boundary around the damaged section. Removing all compromised material is crucial—think of it like dental work, where decayed material must be completely removed before a filling can be applied. Cutting clean edges also makes it easier to blend the repair into the existing structure.
If the damaged area has irregular or jagged edges, extend the cut slightly beyond the visible damage to ensure that all weakened sections are removed. A well-defined repair zone prevents further cracking and provides a strong foundation for the carbon surfboard repair materials. Take care to remove only what is necessary, as excessive cutting can create additional weak points.
For extensive damage, consider tapering the edges of the cutout at a shallow angle to improve the bond between the new carbon fiber layers and the existing structure. This technique helps distribute stress more evenly, preventing the repaired section from becoming a weak spot under load.

2. Preparing the Surface
2.1 Sanding the Edges
Using 60-grit sandpaper, sand the perimeter of the damaged area to create a smooth transition between the existing carbon fiber and the foam core. This step ensures better adhesion when applying new layers of material. Be careful not to over-sand, as excessive removal can weaken the surrounding structure. For best results, feather the edges of the carbon fiber by gradually tapering them down, ensuring a stronger bond when new material is added.
After sanding, wipe away any dust or debris using a clean, dry cloth or compressed air. A clean surface is essential for achieving a strong bond between layers of surfboard repair material. If needed, use a degreaser or isopropyl alcohol to remove any contaminants that could interfere with adhesion.
2.2 Reinforcing the Foam Core
If the foam core has been compromised, use a small screwdriver, chisel, or sharp tool to remove any soft or deteriorated foam. This step ensures that the epoxy filler will bond securely to a stable base, preventing future failures in the surfboard repair.
For deeper areas of damage, consider reinforcing the foam core with high-density replacement foam or epoxy mixed with structural additives. Cut a replacement foam piece to fit snugly into the damaged area, then secure it with epoxy resin. This added reinforcement helps restore the board’s internal strength, preventing potential weak points from forming.
Before proceeding, allow any applied reinforcement materials to fully cure according to the manufacturer’s instructions. Once cured, lightly sand the area again to ensure an even surface before applying the epoxy filler.

3. Applying the Epoxy and Glass Bubble Mixture
3.1 Mixing the Filler
Once the damaged area has been properly cleaned and prepped, the next step is filling in the voids to create a strong foundation for the repair. This is done using a mixture of epoxy resin and glass bubbles (also known as microspheres). The glass bubbles help to thicken the epoxy, reducing its weight while improving its ability to adhere to the foam core.
Key Considerations When Mixing the Filler:
- Epoxy-to-Glass Bubble Ratio: Start with a small amount of epoxy and gradually add glass bubbles until you achieve a thick, paste-like consistency. The mixture should be thick enough that it doesn’t sag or drip but still pliable enough to spread smoothly.
- Avoid Air Bubbles: Stir the mixture slowly and thoroughly to prevent the introduction of air bubbles, which can weaken the repair.
- Temperature Considerations: Epoxy viscosity is affected by temperature. In colder conditions, the mixture may be too thick and difficult to work with, while in warmer temperatures, it may flow too easily. Work in an environment where the temperature is between 70–80°F (21–27°C) for optimal handling.
- Curing Time: Choose an epoxy with a working time of at least 20–30 minutes to allow for careful application. Fast-curing epoxies can harden too quickly, making it difficult to properly shape the filler.
3.2 Filling the Void
With the filler properly mixed, it’s time to apply it to the damaged area.
Steps for Applying the Epoxy Filler:
- Press the Filler Into the Gaps: Use a flexible spatula or plastic spreader to firmly press the mixture into all crevices, ensuring complete contact with the foam core. Apply in layers if needed, making sure there are no air pockets trapped within the filler.
- Smooth and Shape the Surface: After filling the void, use the spatula to smooth out excess material. Slightly overfill the area to account for shrinkage as the epoxy cures.
- Cover with Plastic Tape or Film: Place a sheet of clear plastic tape or wax paper over the repair area. This helps prevent epoxy runoff, ensures a more even cure, and reduces sanding work later. Use light pressure to shape the filler as it cures.
- Let the Epoxy Cure Overnight: Curing times vary based on temperature and epoxy type, but overnight (8–12 hours) curing is recommended to ensure full hardness before sanding.
Additional Tips:
- For Deep Repairs: If the damage extends deep into the board, apply the filler in multiple thin layers, allowing each layer to partially cure before adding the next. This prevents excessive heat buildup, which can cause cracks or weak bonds.
- Checking for Complete Cure: After the recommended curing time, press on the filled area with your fingernail. If it feels firm and does not dent, it is fully cured and ready for sanding. If it remains slightly soft, allow additional curing time.
4. Sanding the Filler
Sanding is a crucial step in achieving a seamless and professional-quality repair. Properly sanding the cured epoxy filler ensures a smooth transition between the repaired area and the rest of the board while creating an ideal bonding surface for the new carbon fiber layers.
4.1 Initial Sanding
Once the epoxy filler has fully cured (typically after 8–12 hours, depending on temperature and epoxy type), it’s time to sand the surface to remove excess material and shape it to match the board’s contours.
Steps for Initial Sanding:
-
Start with 60–100 Grit Sandpaper:
- Use 60-grit sandpaper for aggressive removal of excess filler, especially if there are high spots.
- Once the area is roughly shaped, switch to 100-grit sandpaper to refine the surface.
- Sand in a circular or back-and-forth motion, following the natural curves of the board.
-
Use a Sanding Block for Even Pressure:
- A rigid sanding block or soft foam sanding pad ensures even sanding without creating low spots or uneven surfaces.
- Avoid applying too much pressure, as this can lead to over-sanding and weaken the surrounding carbon fiber structure.
-
Check the Thickness Regularly:
- Avoid over-sanding the edges of the repair area, as this can compromise the integrity of the surrounding carbon fiber.
- Gently run your fingers across the area to feel for high or low spots—the surface should be as even as possible before proceeding to the next stage.
-
Remove Dust and Debris:
- Use compressed air, a vacuum, or a clean microfiber cloth to remove dust between sanding steps.
- Ensuring a clean surface prevents contamination when applying the next layers.
4.2 Creating a Seamless Base
For a strong and visually clean repair, the surface must be slightly recessed to accommodate the new carbon fiber layers. This ensures that the final repair is level with the original surface once finished.
Steps for Creating a Seamless Base:
-
Sand Slightly Below the Surface:
- Using 100–120 grit sandpaper, sand the center of the surfboard repair area slightly lower than the surrounding board—about 0.5mm to 1mm below the original surface.
- This recessed area allows the new carbon fiber layers to sit flush with the rest of the board.
-
Feather the Edges:
- Gradually taper the edges of the repair area so that the transition between the original carbon fiber and the filler is smooth.
- Feathering the edges ensures that the new carbon fiber layers bond seamlessly without creating a visible ridge.
-
Final Surface Check:
- Run your fingers over the sanded area to ensure a gradual transition from the original material to the surfboard repair area.
- If needed, lightly sand any remaining high spots to perfect the shape.
-
Clean the Surface Thoroughly:
- Wipe down the area with isopropyl alcohol or a tack cloth to remove fine dust particles.
- This step is crucial for proper adhesion when applying the carbon fiber patches in the next phase.

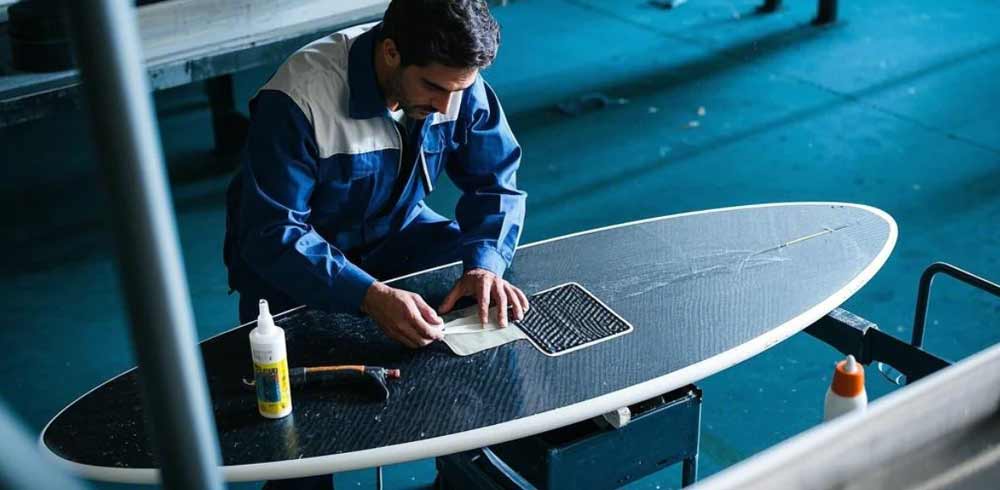
5. Applying Carbon Fiber Patches
5.1 Cutting the Patches
Prepare two patches of carbon fiber cloth:
- One patch should match the size of the surfboard repair area.
- The second should be slightly larger to provide additional reinforcement around the edges.
Cut plastic sheeting to cover the patches during curing, which will help compress the fabric and ensure a smooth finish.
5.2 Layering Technique
- Apply a thin layer of black-tinted epoxy to the surfboard repair area for visual consistency.
- Place the smaller carbon fiber patch onto the epoxy layer.
- Apply another layer of epoxy, followed by the larger patch, ensuring complete saturation.
- Use plastic sheeting to press out any air bubbles and secure the fabric.
- Tape the edges tightly to keep everything in place during curing.
5.3 Curing Process
Let the epoxy cure for at least 24 hours. The plastic sheeting helps minimize post-repair sanding by providing a smoother surface finish.
6. Finishing the Repair
6.1 Final Sanding
Once the epoxy has cured, remove the plastic sheeting and sand the repaired area with 120–240-grit sandpaper. The goal is to blend the new material seamlessly with the original surface. Run your hand over the area to check for smoothness, as visual inspection alone may not reveal subtle inconsistencies.
6.2 Applying Clear Coat
- Apply a thin layer of epoxy resin over the repaired area to seal it.
- Allow the epoxy to cure before sanding lightly with 320–400-grit sandpaper.
- For a professional finish, spray a matte or glossy clear coat over the repair to match the board’s original texture.
6.3 Polishing (Optional)
For an extra-smooth finish, use 1500-grit wet sandpaper to polish the repair. This step ensures that the surf board repaired section is virtually indistinguishable from the rest of the board.
7. Quality Check and Maintenance Tips
7.1 Strength Test
Once the repair has been completed, it’s essential to check the integrity of the repaired area to ensure that it is as durable as the surrounding board. Begin by pressing firmly on the repaired area with your hands or applying a small amount of pressure using a weight or object. The area should feel solid and firm under pressure.
If you notice any flexing or movement, it could indicate that the repair is not yet fully bonded or that additional layers of reinforcement are necessary. Repeated flexing in the same spot can also cause further damage, so it is important to address any weakness immediately. When performing this test, focus on areas that experience the most stress, such as the nose, tail, and the rails.
7.2 Visual Inspection
A key aspect of a successful repair is not just strength, but also the smoothness and uniformity of the repair. While the carbon weave may be slightly visible, a quality surfboard repair should blend seamlessly with the rest of the surfboard’s surface. Run your fingers lightly over the area to check for any unevenness or texture differences.
The repaired area should feel smooth, with no noticeable bumps, ridges, or gaps that would indicate poor adhesion or finish. Pay special attention to the edges of the repair, as these can be more susceptible to peeling or lifting. Visually inspect the repair from different angles to ensure the color and finish match the rest of the board and that the repaired area doesn’t detract from the board’s overall aesthetic.
7.3 Preventive Care
To extend the life of your surfboard:
- Regularly inspect for minor damage to prevent larger surfboard repairs in the future.
- Store your board in a cool, dry place to prevent unnecessary stress on the material.
- Rinse your board with fresh water after use to remove salt and debris that can weaken the structure over time.

Conclusion
Surfboard repairing extensive carbon fiber damage requires patience, attention to detail, and the right tools. By following this step-by-step process, you can restore your surfboard’s strength and performance, ensuring it remains in top condition for many more sessions. Whether you’re dealing with cracks, delamination, or structural damage, mastering these techniques will help you extend the lifespan of your board while maintaining its high-performance capabilities. If you have any specific questions or need further guidance, feel free to leave a comment—we’re here to help!